Table Of Content

And even if this wood looks old, it can be sanded so that it will look as smooth as what can be seen in the second image above. This will give your bat house a great aesthetic look while providing its function. If you can find this kind of material for free, it can be used for making a bat house. The guy also provided important notes on where the bat house should be placed so that the house will be both inhabited by bats and will keep them safe. Since the process for making this kind of bat house isn’t that difficult, beginners will find it easy to replicate the project in their own workstations. It also teaches them the skeleton of a good bat house.
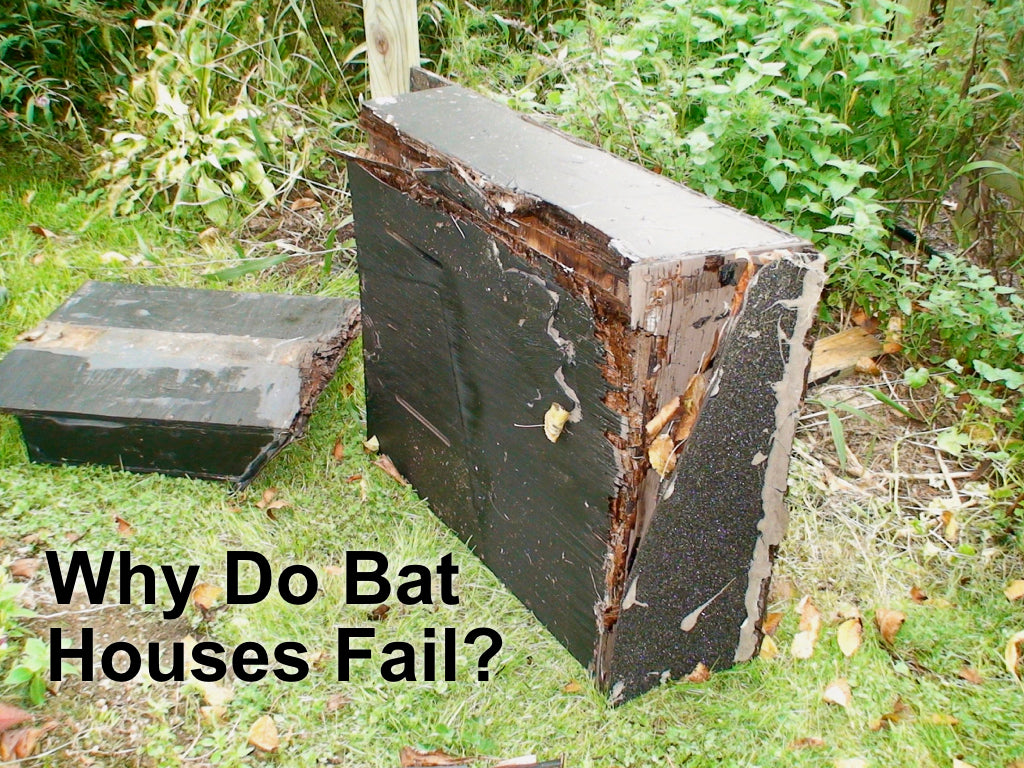
The Plans
That requires you to set your straight edge, then turn everything over so the bearing can run on the straight edge. Be sure your pattern bit and/or flush trim bit has a 1” cutter length. For tools, all you need is a jigsaw, a router, and a screw gun.
Materials
I had several 12-inch-long boards, so I cut eight ⅞-inch strips out of those to make the four rails. I based these bat house plans on a design published by Bat Conservation International, with a few modifications—what woodworker follows plans exactly? My bat box, for example, is two chambers instead of four, simply because of the amount of wood I had available. I also used cedar fence pickets instead of exterior plywood because they were cheaper, and decided not to put a vent on the side due to the cold climate in Massachusetts. Dingbats, designed to maximize land use, stretch their footprints to the lot line and are typically 50 feet (15 m) wide by 100 feet (30 m) deep.
A Bat Box For Novice Makers
Before you attach the smaller of the two pieces, measure to make sure your ventilation slot is about half an inch. It only takes two coats of the stain, and the stain dries fast if you are making your bat house outside in the sun. Bat houses mounted on buildings retain heat better and are less accessible to predators. Luckily my townhouse is three stories high and has a sunny side. A brick-walled patio became a party-ready outdoor kitchen and dining area thanks to Douglas R. Santicola of Outdoor Elegance.
I used two layers of starter strip I had left over from roofing our house. Attach the roof support and spacers with galvanized brad nails. Make sure the beveled edge of the roof supports line up perfectly with the angled tops of each side.
Step 3: Drill holes for the jigsaw
Different species of bats (there are nearly 1,400 worldwide and almost 50 in North America) use bat boxes for different reasons, such as breeding, roosting, or hibernating. But if you put one up, there’s a chance it’s just the thing a colony in your area needs to survive another season. Bat populations are in decline, which is one reason homeowners should consider adding a bat house to their property. Another perk is their high-nitrogen guano, which makes great fertilizer for many plants. Bats are very particular about where they’ll live, and their houses have to be constructed in a specific way that encourages them to nest. The inside of this house is painted black to keep it dark and warm, and the outside is a color that makes it blend in with the surroundings.

Most bat houses are on the small side because bats are not large creatures. In case you want something on the fun side when creating your own bat house, then check this design out. It is sure to catch the eyes of any visitors you have around your home. Then you could use the opportunity to share all of the wonderful things you’ve learned about bats. The whole purpose of a bat house is to provide a habitat for them in your backyard.
Step 7: Attaching the Logo and Mounting Bar
Their natural habitats are being damaged, and they’re reduced in number. These make it harder for these little creatures to keep bouncing back in numbers. Finally, add a piece of wood to the top to form a roof.
How high? And what about trees?
On a hot midsummer day with full sun, the bats will want to retreat to a deeper chamber where the temperature is a little lower. Rout the angled ends (E) using the same technique you used on the sides; rough cut, and then trim using the straight edge and router. If possible, use your factory edge as a starting point.
It can be too shady and cool among the branches, and it’s easier for predators to climb up and into the box. Instead, it’s best to install bat boxes on the side of a building or on a pole, between 10 and 20 feet in the air. Bat Conservation International has put together a few documents for the best installation methods, whether on a pole or on the side of your house or another building. “Make sure that all of the seams are tight and there aren’t a lot of gaps because heat is the key thing,” says Mizejewski.
They should be at least 24 inches tall and 14 inches wide and include vents for airflow and a rough interior for bats to grasp onto. It might seem odd to want to attract bats to your yard, but those little winged mammals are pretty special creatures. They’re nighttime pollinators responsible for helping more than 300 species of plants and trees grow, including bananas, mangoes, and agave.
You could use 1” screws if you don’t own a brad nailer. Rough up all the interior surfaces of the bat house with coarse sandpaper. The grooves make it easier for the bats to climb around the house. Plant attractive flowers in your night garden, install a water feature in your backyard and make sure your garden is as hospitable as it can be for bats. Bats will be looking to move in come spring time, so the best time to hang your bat house is late winter or very early spring. Instead, opt for naturally weather-resistant woods such as cedar, white oak or reclaimed barn wood.
Here’s Why the Bat House Is Becoming a Thing - Architectural Digest
Here’s Why the Bat House Is Becoming a Thing.
Posted: Fri, 25 Feb 2022 08:00:00 GMT [source]
The holes are located 3-1⁄2” down from the top, and 3” in from the edge. If you already see bats at dusk between spring and fall, chances are better that they will discover your ready-made home. However, if you haven’t seen a bat yet, you can still give it a try. Let this stain dry for a couple of days before adding the L-shaped brackets. Nails may be less complicated to work with, but screws (combined with the use of a power drill) will last longer.
If you don’t see any sign of bat activity after a couple of years, it might be time to take it down and try a new location. Set the height of your table saw to between 1/16 and ⅛ inch high. Then set the fence about a quarter-inch from the blade, and run all of your middle panel boards over it, on both faces. Then move the fence another quarter inch away from the blade and run the boards again.
You can purchase felt paper by the foot and it's inexpensive. I enlisted the help of my oldest granddaughter, Jadyn, to help me build a couple bat houses. To keep the project approachable and safe for young woodworkers, I developed a system for cutting up plywood sheets into accurately machined project parts without the hazard of a table saw. All you need to build this bat house is a jigsaw, a router, and a couple router bits (See Sources).
However, you did get a great picture of what the bat house is supposed to look like. If you think you can go off of a few instructions and a general picture then this could be a good design for your bat house. And this site is one that is very detailed in helping you with the build. It gives you time frames, materials lists, and pictures. Even more interesting, they share some interesting facts about bats as well.


No comments:
Post a Comment